hugelbeet

Dad was determined to build one – a hugelbeet – and actually, so was I, but it was Dad that got down to it while I did other things. Urgent things like mow the grass and weeds. Much as I would love acres of meadow (cue romantic visions of wading through fragrant wildflowers and gently waving grasses) I fear the ticks more. And they are gathering as the weather gets warmer. So Dad built the hugelbeet, while I mowed, and Mum raked up the cut stuff. Every so often I’d break off to record his progress. Here he is in action:

Step 1: Clearing a patch of ground.
digging out the bed


He’d decided it should be 6×4 feet. What happens first, as with the two beds I’ve dug, is to remove the turf. This gets taken off in pieces and reserved, grass side down, for reuse later. Dad was also interested to see how deep the topsoil layer is in this part of the world. Answer (sadly): not very. A few more inches down and you hit clay. Raised beds, and hugelbeets it is then!


Step 2: Twigs on the bottom.
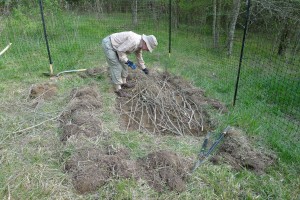
twigs and branches

Twigs and small branches form the bottom layer of the hugelbeet. I have so many fallen branches and tree parts around the homestead site that it was nice to find a use for a few of them. Mum and I, in a little break from mowing/raking, did the twig gathering. Here they all are spread out over the cleared bed.


Step 3: Layer 2 is leaves.
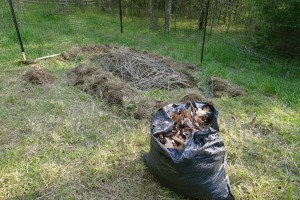
leaf litter!

Leaf litter! Plenty of that lying around as well, although the stuff I collected from the nearest bit of deciduous forest (this bag) was a little on the dry side. We went for pine needle litter next, languishing more moistly under some stands of trees on the eastern edge of the homestead.


Step 4: The Compost layer… such as it is.
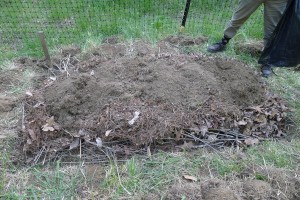
compost layer

There wasn’t much compost ready in my compost bin, so we mostly used what had rotted down from the turf I’d cleared away to make my veggie and flower beds. It wasn’t ideal – not as rich and composty as Dad would have liked – but it was what we had. And damn, we were going to finish this!


Step 5: Turf Mound
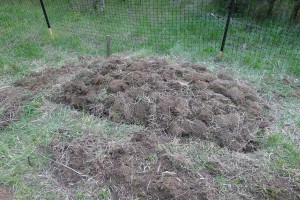
turfy mound

The last thing we did (for the moment anyway) was replace the pieces of turf. It’s not finished yet – needs a layer of topsoil, which I’ll mix with compost and other enriching matter (more MOO-Nure maybe… just tried some of that on my veggie bed). We were a little worried that anyone wandering by (not that anyone should be!) would think this was a makeshift burial, but no! It’s a hugelbeet, almost ready to plant… I’m thinking a bit of three sisters in this one – corn, edamame, squash – if there’s room.
deer fence!

old man in spring green

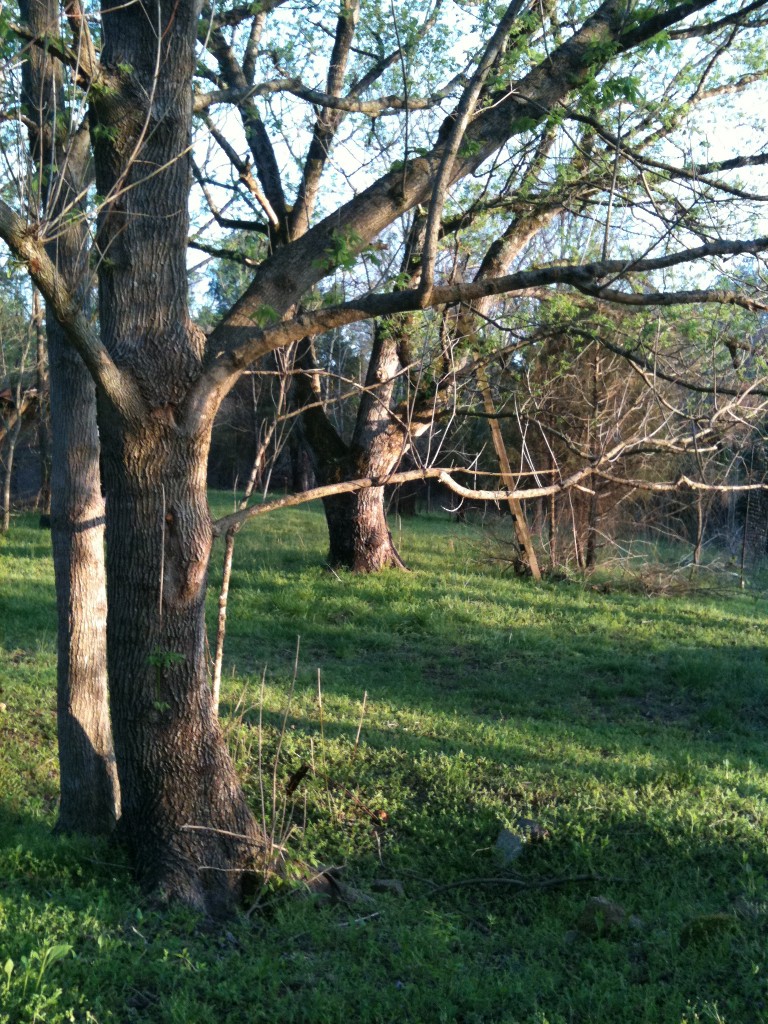
I’m so behind with the blog.  I’ve had a deer fence for nearly two weeks now, and I’m only just getting around to celebrating the fact properly. Here, at last, are pictures to prove it exists! The picture above is the Old Man in new leaf, taken the day we put up the fence.

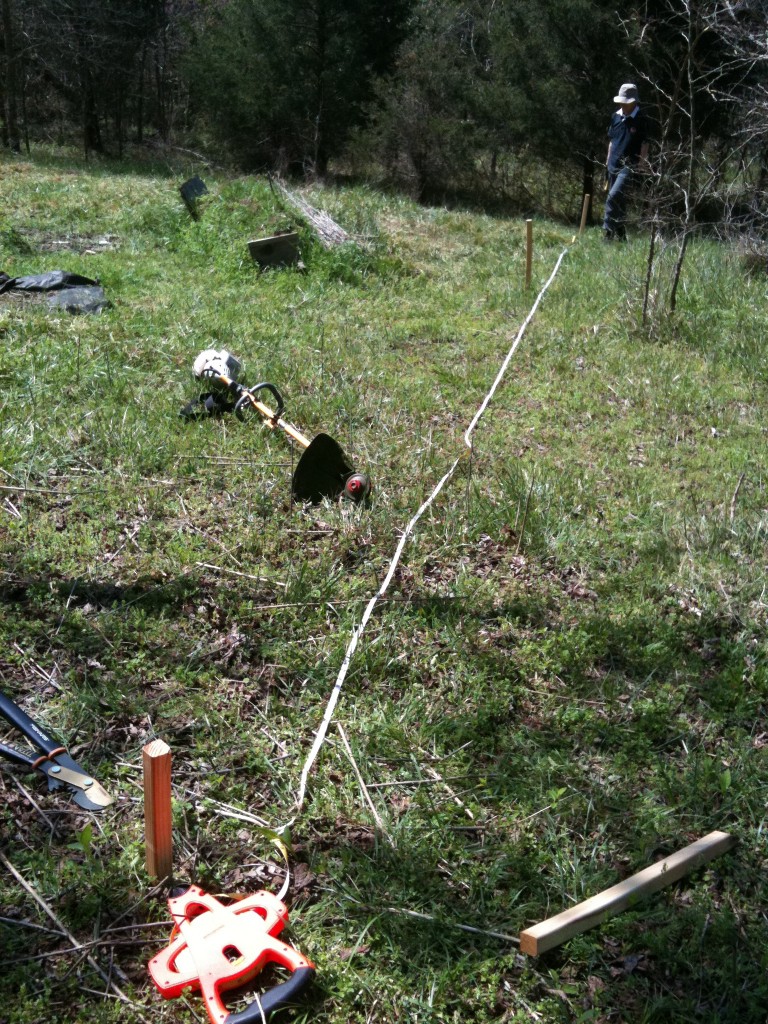
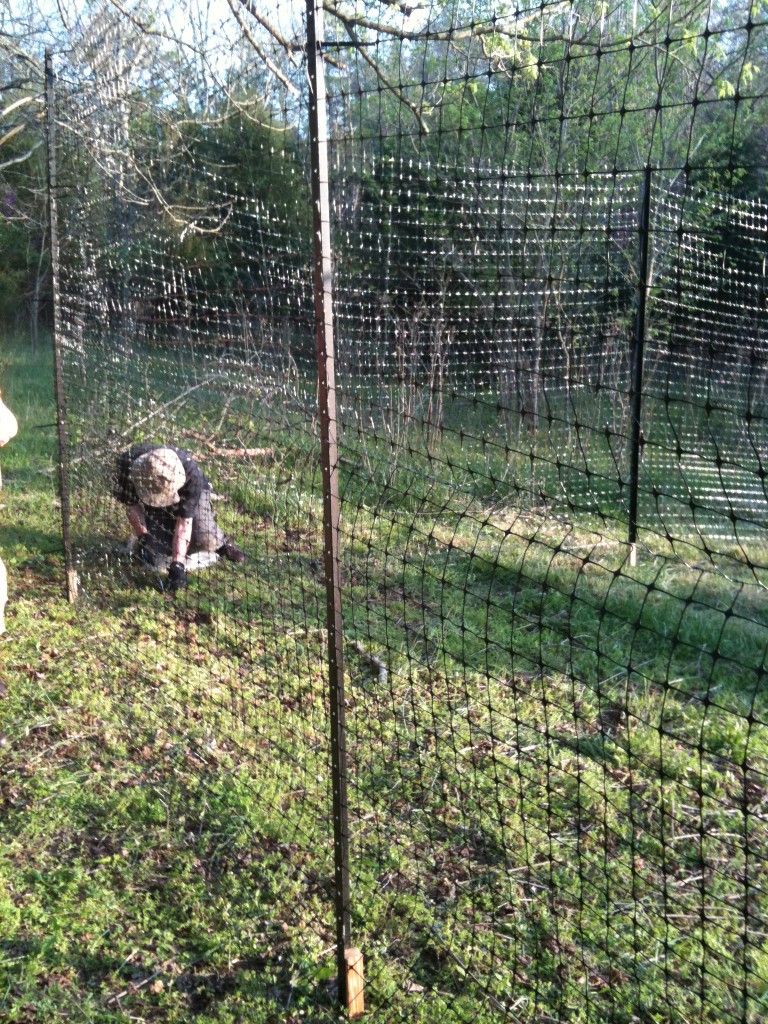
And yes, I had help. My parents are staying, and wanted to visit the land. It had been raining quite hard, so we thought (I thought) it might be a good time to try making holes for the fence posts. Just the holes, nothing more ambitious than that… I suppose my memories of last August, when my friends and I exhausted ourselves trying to make post holes, were making me a little pessimistic. But it had been raining, so the chances were good that we could make the holes for the much smaller area I wanted to enclose. Armed with a dozen new stakes, we measured out the area (surrounding the bee garden and the new veggie bed I dug back in February) and found it pretty easy to hammer the stakes in.

measuring the perimeter

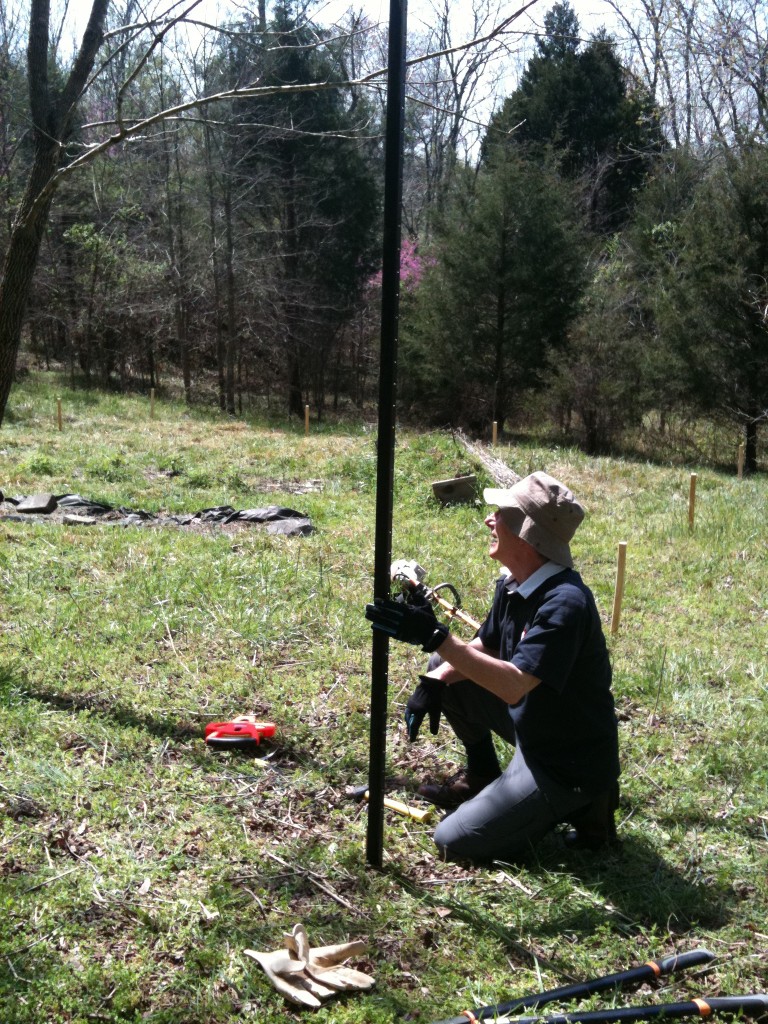
That’s my Dad at the other end of the measure. Note the freshly trimmed grass. The stakes went in well enough, mostly, but it was a devil of a job to pull them out again. Wet earth has its problems. It left us wishing we were stronger: Dad’s sport was marathon running, where you don’t really focus on building up huge amounts of upper body strength. And I need to do more yoga… Anyway, we managed not to damage ourselves, and with most of the holes made, we decided to try putting in an actual fence post. (Remember that in an optimistic moment last August, my friends and I took all the posts up to the land, where they have been waiting patiently for me to put them to some use).

post in a hole!

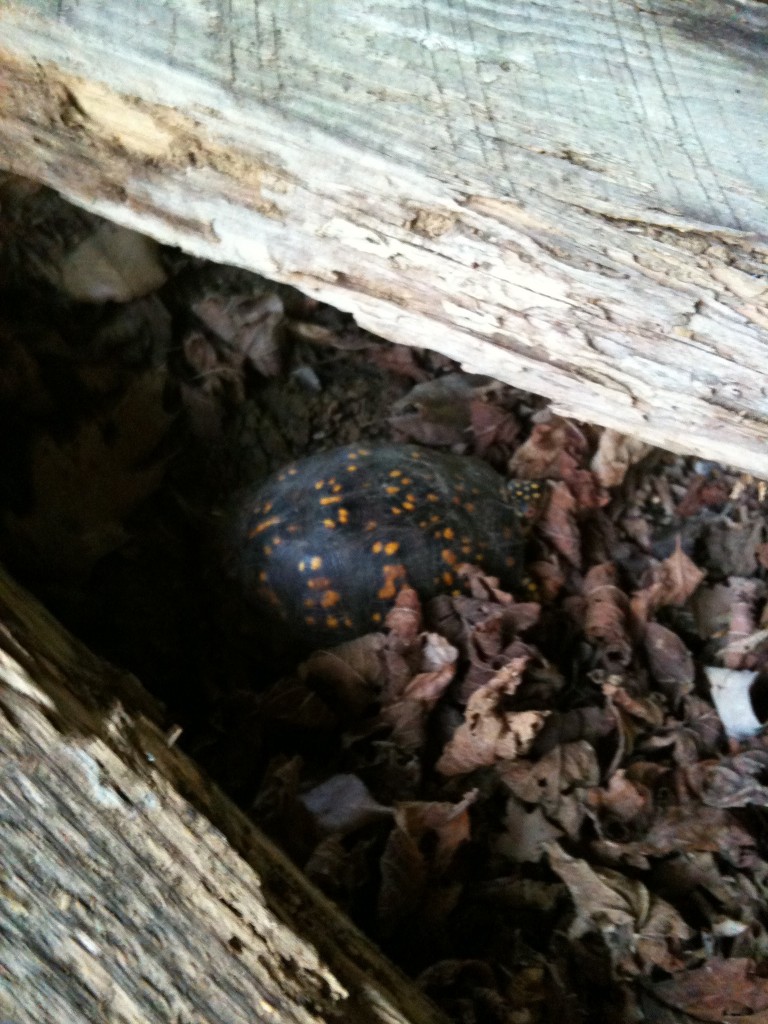
It looked good. Better than good, in fact. It looked like a do-it-yourself deer fence might actually be possible. And so, with most of the holes made, and proof that they would hold a fence post to an adequate depth, we decided to go for it. Put the whole fence up in what was left of the day. This involved driving home, having a cup of tea (we’re English, after all), then driving back with enough rolls of netting, and everything else – metal pegs, plastic ties – to finish the job. Let me pause to mention the wildlife. Because there were ticks. Just a few. Mostly on me. But we also met this little guy:

tortoise in the step ladders

A Carolina box turtle (tortoise). I love the seven-spotted pattern on its head! It was nestled between the metal steps of the ladder we’d hidden away last August in one of the derelict outhouses. I’d tried to conceal the ladder with old bits of wood – quite successfully, since clearly it didn’t go the way of the compost bin. It’s lovely to think that we may have provided a hibernation spot for a tortoise all winter!

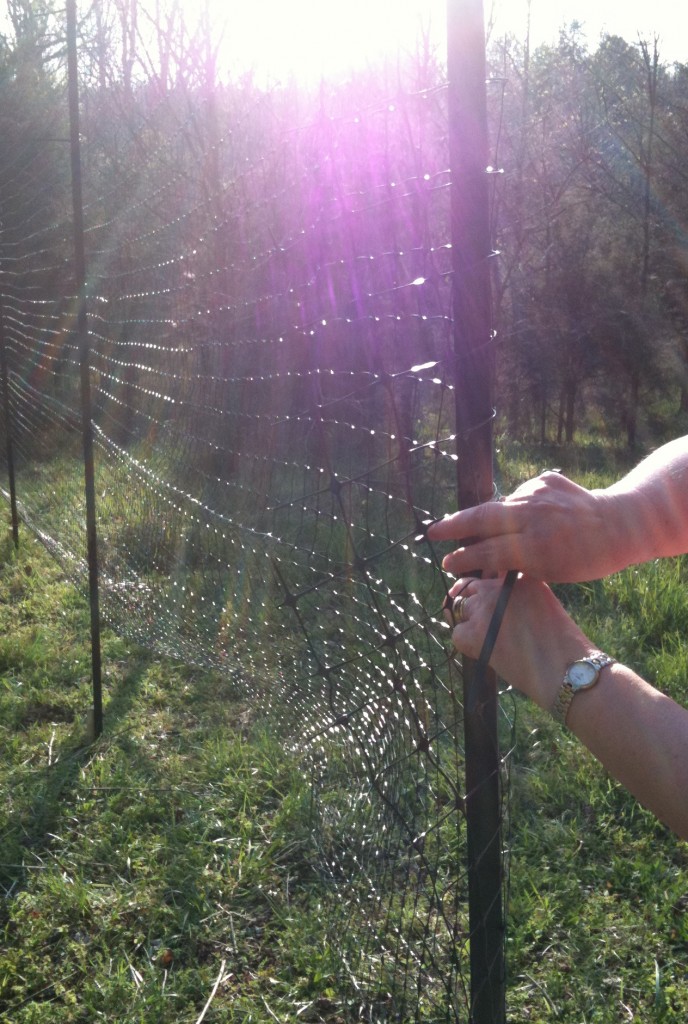
The rest of the job went quite quickly. While Dad finished hammering in the posts, Mum and I tied on the netting.

tying on the net

All that remained was then to secure the net to the ground with metal pegs. There’s no gate to this (hopefully) deer-proof garden. We left one end of netting tied loosely: just untie it, lift it up and you’re in. Here it is, almost finished:

almost finished...

That night – completely exhausted but amazed at what we’d achieved – we celebrated by eating out at one of my favourite restaurants, which serves only locally produced food (except for the lemons: I don’t live in California). Over breakfast a couple of days later, still glowing with achievement, I happened to pick up a book I’d bought on deer resistant plants. I was browsing the introduction and noticed a paragraph saying something like: “Once you have installed your new deer fence, you absolutely MUST *immediately* tie strips of white cloth to it, or the deer will not notice your new fence, but will crash into it, entangle themselves, smash up the fence…” Aaaaarrrrggghhh!!!!

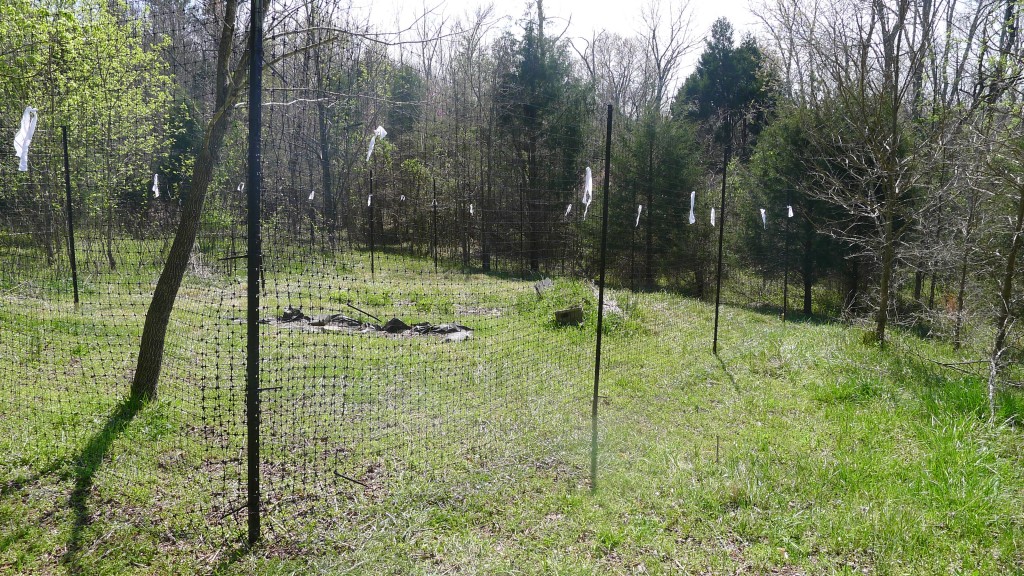
I drove up there later in the day with strips of white cloth cut from material I’d used to make a colleague a toga. The fence was as we’d left it, all shiny and new, and no evidence that deer had tangled with it. Here it is with white cotton “flags” waving in the wind.

the finished fence

I’m happy to say that nearly two weeks later it’s still looking good, but let me finish with some soft, March, evening light on the land.

shadows lengthen