Dad was determined to build one – a hugelbeet – and actually, so was I, but it was Dad that got down to it while I did other things. Urgent things like mow the grass and weeds. Much as I would love acres of meadow (cue romantic visions of wading through fragrant wildflowers and gently waving grasses) I fear the ticks more. And they are gathering as the weather gets warmer. So Dad built the hugelbeet, while I mowed, and Mum raked up the cut stuff. Every so often I’d break off to record his progress. Here he is in action:
Step 1: Clearing a patch of ground.
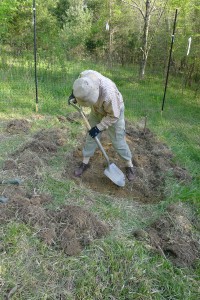
He’d decided it should be 6×4 feet. What happens first, as with the two beds I’ve dug, is to remove the turf. This gets taken off in pieces and reserved, grass side down, for reuse later. Dad was also interested to see how deep the topsoil layer is in this part of the world. Answer (sadly): not very. A few more inches down and you hit clay. Raised beds, and hugelbeets it is then!
Step 2: Twigs on the bottom.
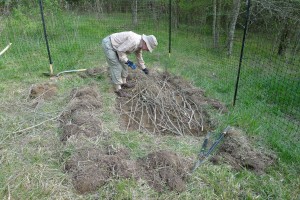
Twigs and small branches form the bottom layer of the hugelbeet. I have so many fallen branches and tree parts around the homestead site that it was nice to find a use for a few of them. Mum and I, in a little break from mowing/raking, did the twig gathering. Here they all are spread out over the cleared bed.
Step 3: Layer 2 is leaves.
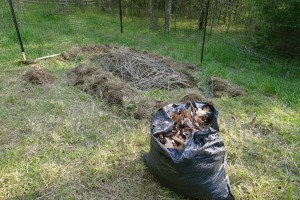
Leaf litter! Plenty of that lying around as well, although the stuff I collected from the nearest bit of deciduous forest (this bag) was a little on the dry side. We went for pine needle litter next, languishing more moistly under some stands of trees on the eastern edge of the homestead.
Step 4: The Compost layer… such as it is.
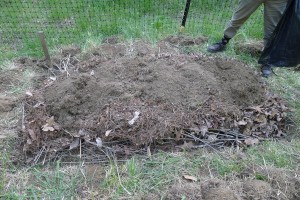
There wasn’t much compost ready in my compost bin, so we mostly used what had rotted down from the turf I’d cleared away to make my veggie and flower beds. It wasn’t ideal – not as rich and composty as Dad would have liked – but it was what we had. And damn, we were going to finish this!
Step 5: Turf Mound
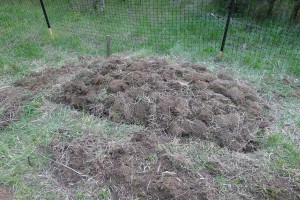
The last thing we did (for the moment anyway) was replace the pieces of turf. It’s not finished yet – needs a layer of topsoil, which I’ll mix with compost and other enriching matter (more MOO-Nure maybe… just tried some of that on my veggie bed). We were a little worried that anyone wandering by (not that anyone should be!) would think this was a makeshift burial, but no! It’s a hugelbeet, almost ready to plant… I’m thinking a bit of three sisters in this one – corn, edamame, squash – if there’s room.
Hugelbett are great even in limited space gardens. I have two side by side and enjoyed zucinni, pumpkins, lettuce, carrots, parsley etc. Note: I over did it the first year so some of the smaller plants got smothered by the zucinni. This year I am applying the Hugelbett technique to big plastic bins to grow individual large plants like pumpkin and zucinni or cucumbers. Same layers as in the traditional Hugelbett. First come drilled holes in the bottom of the bins, then came branches and twigs ..diameter anout 2 to 3 cm..not as large as for the ground Hugelbett. Then all the weeds from the garden…collected over the summer in a bin to semi rot. Then autumn leaves as third layer followed by peat if you have it or sod upside down . Next compost material if available. I let this stand till Spring then bring on the last layers of dirt from the garden followed by a good mixture of planting soil, sand, and nutrient rich dried humus. Great for growing tomatoes too.